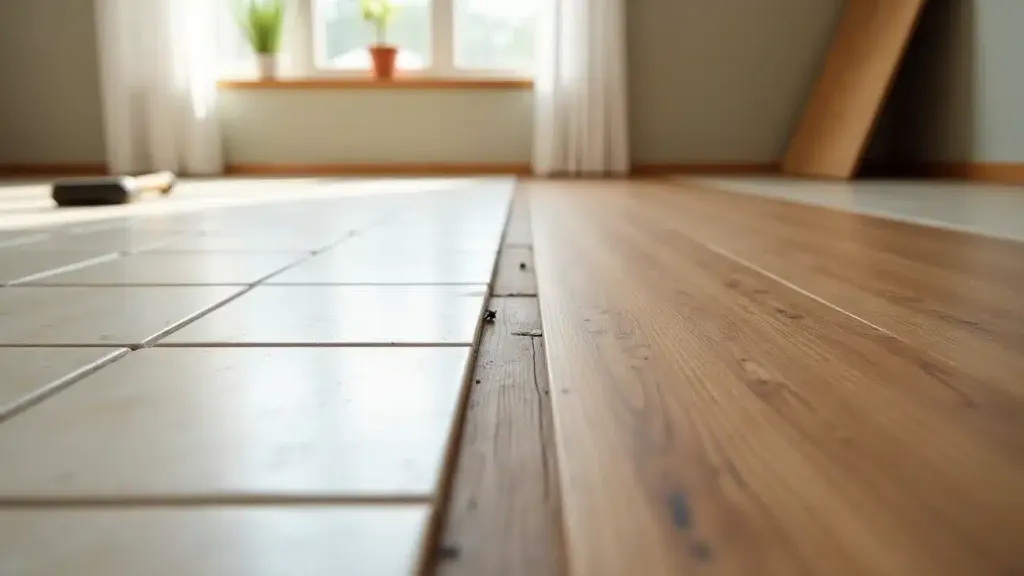
Luxury vinyl plank can be installed over some tile floors, provided the flooring manufacturer allows it and the existing tile meets the preparation requirements.
The word “waterproof” on a plank box doesn’t answer that question. You still need a stable base and a plan for moisture, floor height, and movement.
Find the instructions for the exact product
Start with the manufacturer, collection, and product number on the box. A floating click floor and a glue-down vinyl floor can require different preparation.
For example, Shaw’s Luxury Vinyl Fold Tap SPC instructions permit certain existing hard-surface floors. They require the base to be firmly attached, sound, clean, dry, and flat. They also give a grout-joint rule for ceramic or porcelain tile.
That is an example of a product-specific requirement. It isn’t permission to use the same tolerance for every LVP brand.
Inspect the tile before covering it
Look for cracked or loose tiles, movement underfoot, and recurring moisture. Covering a floor doesn’t fix a failure below it.
A crack may be limited to one tile, or it may reflect movement in the base. Have the cause assessed when the floor is unstable or the damage is spreading.
Check flatness using the method and span in the product instructions. “Flat” and “level” aren’t the same: a surface can slope while remaining flat, or look level across the room while having high tile edges.
Grout joints and added padding aren’t shortcuts
Deep joints and raised tile edges may need preparation. Use a patching or leveling material that the flooring system accepts, and follow its bonding and drying instructions.
Don’t add an extra soft underlay just to hide unevenness. Shaw notes that soft substrates can compromise locking performance. If the planks already have an attached pad, check whether any additional layer is allowed.
The goal is a prepared surface that meets the written requirements before the first plank is laid.
Check the height at every transition
Adding a floor over tile raises the finished surface. Before committing, check:
- Door clearance and threshold transitions.
- Whether a dishwasher can still be removed from beneath the counter.
- Adjacent floors and any stair transition.
- Toilet, cabinet, and appliance details that the installation affects.
Measure with the actual plank and any approved layers. Include transition pieces in the plan rather than leaving them until the end.
Plan how the floating floor will move
Follow the product’s expansion-gap, room-size, and fixed-object instructions. Don’t assume that a gap used on another job will work here.
Ask how cabinets, door frames, and transitions will be handled. A floating floor needs to behave as its system requires after the room is furnished.
If the existing floor or adhesive could contain asbestos, stop before grinding or removal. Our asbestos flooring guide explains why photos can’t settle that question.
Decide whether keeping the tile saves useful work
Keeping sound tile may avoid demolition, but preparation and height changes can reduce that benefit. Ask for the overlay and removal scopes separately if both are practical.
Send Smart Fix the plank product number and photos of the current floor. Include the doorway transitions and any cracked areas so we can review the preparation the job may need.
Need a Handyman You Can Trust?
Tell us what needs fixing. We’ll help you get a fair quote for the work.