For finished drywall joint compound, 150-grit sandpaper is a useful starting point when the product instructions allow it. USG recommends 150-grit paper or 220-grit mesh for its Sheetrock Brand UltraLightweight All Purpose Joint Compound. That is a recommendation for a named product, not a rule for every compound.
The aim is to smooth the compound without tearing the board’s paper face. If you’re trying to grind down a thick mound with coarse paper, pause and check the repair first.
Paper and mesh aren’t the same choice
| Abrasive | How to choose it |
|---|---|
| Sandpaper | Follow the compound maker’s grit recommendation. USG specifies 150 grit for the product linked below. |
| Abrasive mesh | Follow the mesh recommendation separately. USG specifies 220 grit for that same compound. |
| Sanding sponge | Check the actual grit or grade. “Fine” can mean different things across products. |
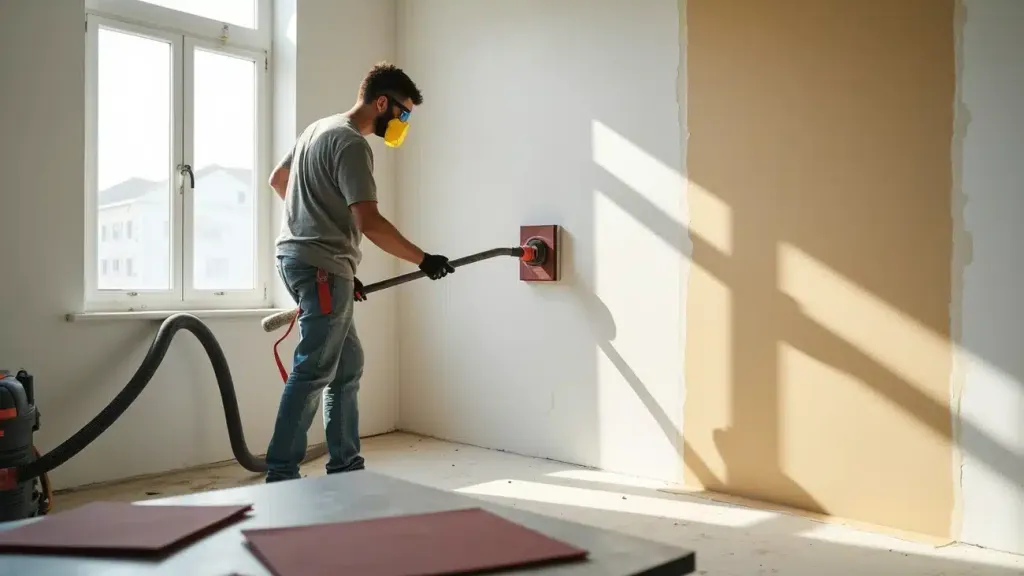
| Powered sanding disc | Match the tool, abrasive, and dust collection system. Test gently before covering a large area. |
See USG’s sanding recommendation. A higher grit number means a finer abrasive within that abrasive system. Don’t assume equal numbers make paper and mesh behave identically.
Let the compound dry first
Compound that is still damp can smear or clog the abrasive. Follow the drying conditions on the product rather than assuming every coat is ready the next morning.
Check the repair in normal room light, then use a light from the side to locate ridges. You don’t need to remove every part of the compound. Focus on raised edges and rough spots.
If the patch has a low area, more sanding won’t fill it. Another thin coat may be the right next step. If joint tape is exposed, stop and correct the finish instead of sanding through it.
Use light pressure
Keep the sanding surface flat and make a small test pass. Check it by sight and touch before continuing.
Avoid bearing down at the edge of the patch. That’s where it’s easy to scuff the surrounding paper or leave a hollow. A sharp ridge may be better reduced with an appropriate finishing tool before another coat, once the compound is ready.
Very coarse paper can leave marks that show through paint. USG’s finishing and decorating guidance discusses fine abrasives and recommends a sanding tool with HEPA dust collection for dry sanding.
Plan for dust and older coatings
Protect the room and follow the compound’s safety data sheet for ventilation, eye protection, and respiratory protection. A tool connected to dust collection still needs proper use and cleanup.
If the work will disturb old painted surfaces, check for lead hazards before sanding. EPA advises particular care in homes built before 1978. Its lead-safe renovation guidance explains the precautions and when to use a certified professional.
Check the result before painting
Clear the sanding dust as the finish-system instructions require. Inspect for torn paper, pinholes, and visible ridges before priming.
A smooth patch can still show if its texture or paint sheen differs from the wall. Decide whether the job includes spot painting or repainting a larger surface. On our Plano drywall repair and paint project, the scope specifically noted that spot painting might not produce a perfect match.
If you want help finishing a patch, send Smart Fix a photo in the room’s normal light. Include a wider view so we can assess the texture and paint area as well as the hole.
Need a Handyman You Can Trust?
Tell us what needs fixing. We’ll help you get a fair quote for the work.