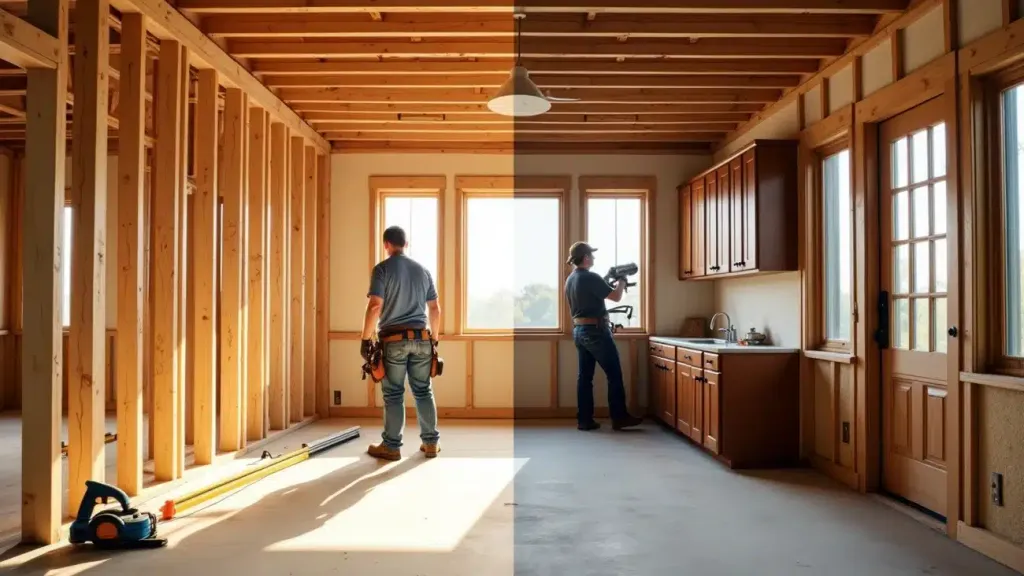
Rough carpentry generally covers framing and other construction that establishes the building or project structure. Finish carpentry covers visible fitted work such as trim, doors, and cabinetry.
A repair can involve both. If water has damaged a door opening, replacing the visible casing may be the last step after work behind it.
Common examples
| Project | Likely carpentry work | What to clarify |
|---|---|---|
| Replacing baseboards | Finish carpentry | Profile match, corners, caulk, and paint |
| Fitting an interior door | Finish carpentry, with possible opening repairs | Slab or prehung unit, hardware, and frame condition |
| Repairing damaged framing | Rough carpentry | Cause, structural scope, and required design or permits |
| Securing a wall cabinet | Cabinet repair and fastening work | Sound support and the cabinet’s condition |
| Changing an opening | Potential structural and finish work | Professional assessment before cutting or removal |
The Bureau of Labor Statistics’ carpentry description spans building frameworks, repairs, and fixture installation. Individual carpenters still have different specialties. Ask about work like yours rather than assuming the title covers every project.
Visible work still needs sound support
A cabinet is a finish item, but its fastening must carry its intended load. Decorative trim doesn’t provide that support.
On our Fort Worth upper-cabinet securement project, the work included securing a tall upper cabinet to the wall and putting the top trim back in place. The recorded total was $386.
That project illustrates two parts of one repair: making the cabinet secure and restoring the visible finish. It isn’t a structural framing project or a price for every cabinet repair.
A trim problem may expose a larger issue
Loose casing could need a straightforward refit. Soft trim near an exterior opening may point to moisture that extends behind it.
Ask the contractor to document what is found before covering the opening again. If the work reaches load-bearing framing or changes the opening, the scope may need a different professional and design review.
Don’t remove a wall or cut framing because a surface looks decorative. Its role needs to be established first.
What makes a finish repair look consistent?
Profile, material, and dimensions matter. A new baseboard with a slightly different curve can stand out even after it is painted the same color.
Bring a sample when one can be obtained without damage, or photograph the trim from the end and face. Ask whether an exact match is available and how transitions will be handled if it isn’t.
Clarify the finishing endpoint. Installed trim may still need filled fastener holes, suitable caulk, primer, and paint. A stain finish has different material and matching requirements.
Put the whole sequence in the quote
Have the quote identify removal, repair of the base or support, installation, and finishing. Ask who handles electrical or plumbing work if the carpentry affects those systems.
A room may need more than one trade, and the sequence should be clear. Repaired drywall usually needs to be ready before the final trim and paint details can be completed.
For a door, cabinet, or trim repair, send Smart Fix photos of the issue and surrounding area. We can review the visible work and whether a broader assessment is needed before it starts.
Need a Handyman You Can Trust?
Tell us what needs fixing. We’ll help you get a fair quote for the work.