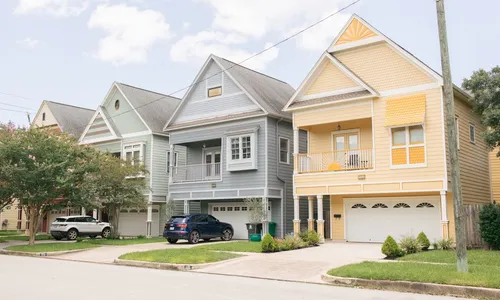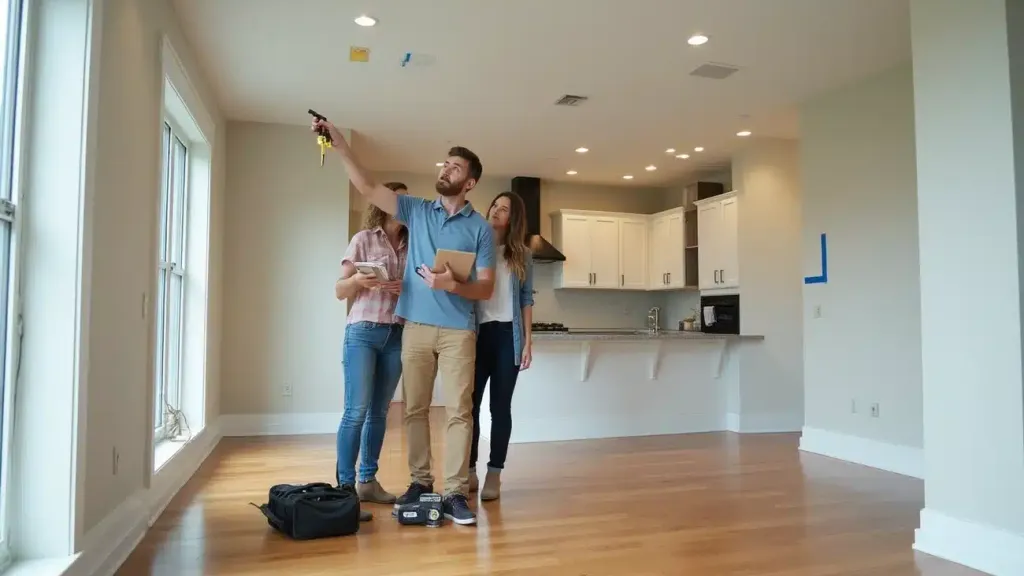
A new-home walkthrough is your chance to record what you see and confirm how agreed work will be handled. Bring a written list, take clear photos, and ask the builder to demonstrate the home’s normal controls.
It is also worth distinguishing the walkthrough from a professional inspection. A homeowner’s checklist won’t reveal every hidden defect or test every building system.
Bring the right records
Have the contract specifications, selected finishes, change orders, and any inspection report available. These give you something concrete to compare with the installed work.
Bring a phone charger and a way to label photos. You don’t need to dismantle equipment or carry specialist test tools to make a useful record.
Ask the builder which person will collect the list and how you will receive written responses. If you have questions about closing, warranties, or a contractual deadline, get advice from the appropriate professional before relying on a verbal promise.
Work through each room in the same order
| Area | What to check using normal controls and safe access |
|---|---|
| Walls and ceilings | Visible damage, unfinished patches, paint misses, and stains |
| Doors | Opening, closing, latching, and visible finish damage |
| Windows | Normal operation, locks, screens, and visible damage |
| Cabinets and drawers | Alignment, operation, loose parts, and specified hardware |
| Floors and trim | Visible damage, incomplete edges, and transitions |
| Plumbing fixtures | Normal operation and visible leaks, with the builder’s guidance |
| Appliances and controls | A demonstration, model information, manuals, and warranty records |
| Exterior from the ground | Visible unfinished work, debris, drainage concerns, and damaged finishes |
Check that selected items match the written specifications. A cabinet color or appliance model is easier to resolve when you can point to both the selection and the installed item.
Do not enter unsafe spaces, open electrical panels, or operate unfamiliar equipment without the builder’s guidance.
Write an issue that someone can act on
“Paint bad” leaves room for confusion. “Guest bedroom, wall beside closet: unpainted patch below light switch; photo 14” identifies the work.
Use one row for each issue:
| Location | Observation | Photo | Requested next step | Builder response | Recheck |
|---|---|---|---|---|---|
| Guest bedroom, closet wall | Unpainted patch below switch | 14 | Finish to match agreed wall paint | Pending | Pending |
| Hall door | Latch misses strike during normal closing | 15 | Assess and adjust door operation | Pending | Pending |
These are sample entries, not reports from a Smart Fix job. Replace them with what you observe.
Keep the wording factual. Record the symptom rather than diagnosing a cause you haven’t established.
Use an inspector for the inspection scope
The Texas Real Estate Commission’s inspection standards describe a real estate inspection as a limited visual survey and basic performance evaluation. Even that professional inspection has defined limits.
A builder walkthrough and a municipal inspection serve their own purposes. Ask a Texas-licensed real estate inspector about an independent inspection if you want that service.
A Smart Fix repair assessment is not a substitute for a licensed real estate inspection, structural evaluation, or environmental testing.
Confirm the repair plan in writing
Ask which items the builder agrees to address, who will do the work, and the proposed timing. Keep the response with the original list and photos.
Don’t assume every observation requires completion before closing or is automatically covered by a warranty. The contract and applicable terms matter. Seek advice on unresolved contractual questions.
When work is marked complete, recheck the item using the same photo location and ordinary operation. Keep the final record, manuals, and warranty contacts together for the next time the house needs attention.
Need a Handyman You Can Trust?
Tell us what needs fixing. We’ll help you get a fair quote for the work.