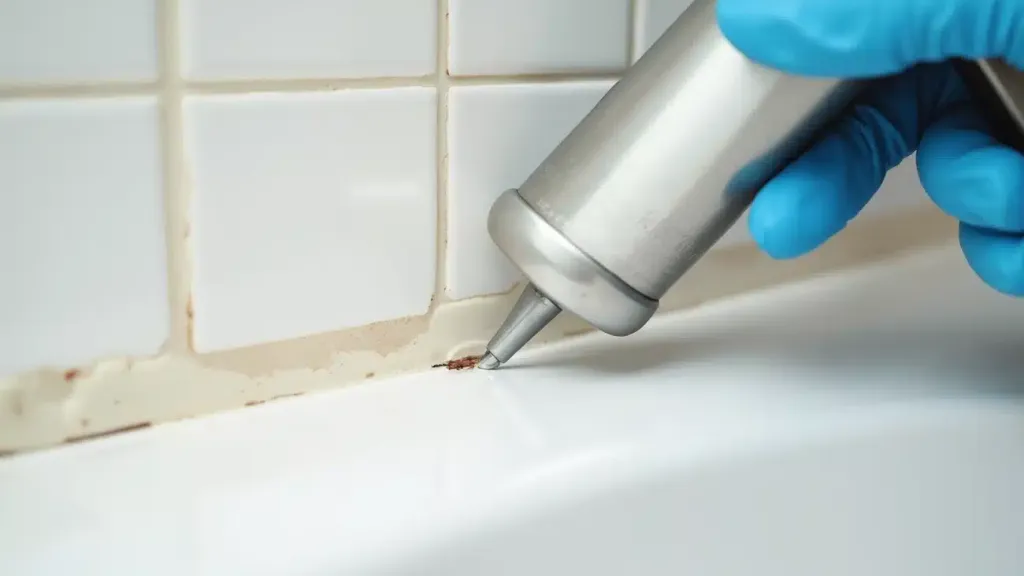
For most repairs, remove the old caulk before applying new caulk. A fresh bead needs a clean, sound surface to grip. If the old bead is peeling or pulling away, covering it leaves the same weak base underneath.
There are products made specifically to renew an existing silicone bead. That’s a product-specific exception, not a reason to put any tube of caulk over any old joint.
Why the old bead matters
Take a close look at both edges. A bead can look fine down the middle while lifting away from the tub or wall. New caulk across the top won’t restore the bond underneath.
GE recommends removing existing sealant, cleaning the joint, and letting it dry before applying a conventional replacement bead. Its sealant removal guide also identifies GE Re-New as an exception for suitable existing silicone seals. If you’re considering a renewal product, check its current instructions and limitations first.
Removal also gives you a chance to see what’s happening behind the joint. Soft trim, wet drywall, or a recurring stain needs investigation before the gap is closed.
Decide what kind of repair you have
| What you find | Sensible next step |
|---|---|
| Loose, split, or peeling caulk | Remove the failed material and prepare the joint again. |
| A sound silicone bead you want to refresh | Check whether a purpose-made renewal product accepts that existing seal. |
| Wet or soft material beside the joint | Find and address the moisture source before resealing. |
| A wide or deep gap | Check the sealant’s joint-size limits and whether backer rod or another repair is needed. |
| A window opening that may be a drain | Identify it before applying sealant. It may need to stay open. |
If the same joint keeps failing, save a photo before removing it. Note whether the gap changes when the door closes, the tub is used, or the weather changes. That gives the repairer more to work with than a new bead covering the evidence.
Choose caulk for the surface and location
A shower corner and painted baseboard need different products. Read the label for the actual surfaces and exposure involved.
Ordinary 100% silicone is not paintable. GE’s guide to applying silicone over old sealant makes that distinction. For painted trim, choose a compatible paintable product and follow its paint-ready time.
Don’t assume “water-ready,” “paint-ready,” and “fully cured” mean the same thing. Use the timing on the specific tube, including its temperature and humidity conditions.
Prepare without damaging the finish
Remove the bead carefully with a tool suited to the surface. A sharp blade can scratch an acrylic tub or cut into a waterproofing layer. Avoid digging behind the joint.
Use only a cleaner that both the surface maker and sealant maker allow. Keep cleaners separate, follow ventilation directions, and let the joint dry as required. A surface that still has soap film or oily residue isn’t ready.
Once the area is sound and prepared, follow the sealant instructions for bead size and tooling. More caulk doesn’t automatically make a better seal.
When resealing needs a closer look
Caulk is a finishing and sealing material. It won’t fix a leaking pipe, rotten jamb, or failed shower waterproofing.
For a recurring leak or damaged surrounding material, send Smart Fix a photo of the joint and the wider area. We can review the repair scope before you spend time covering a problem that needs a different fix.
Need a Handyman You Can Trust?
Tell us what needs fixing. We’ll help you get a fair quote for the work.